I have benefited endlessly from other bloggers’ how-tos with detailed picture outlines. I have to admit, I know it’s a monkey-load more work than I originally thought. But, it’s worth it, to share with you a fun, straightforward way to accomplish a task (like watermarking your photos).
Here, for your general amusement and non-crafty instruction is how I made the Chicka Chicka Boom-Boom coconut tree. I cut out and laminated the letters myself. This was a gigantic waste of time, as any dollar store worth its salt carries die cut letters for next to nothing. Take advantage.
Note: If you can cut snowflakes and draw triangles, bumpy, and curved lines, you have all the skills you need to make this. Laminating makes everything better, but not strictly necessary.
Step 1: Make the trunk.

Draw 2 roughly parallel sets of bumpy lines on a brown piece of construction paper. Repeat 4 times, lining up the last paper with the new paper to get the width right. Make last paper a little closer together with a slight bend to the left (see finished picture).

Connect your bumps with a slightly curving line. (I am left handed, so this picture is actually me drawing from left to right.)
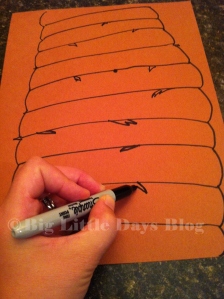
Look with dismay at the giant poop you just made. Repair by drawing these little triangle things all over. Breathe sigh of relief.

Laminate and stick on wall. The evilness: A piece of construction paper is not standard size, so you’ll have to chop it in places and use 5 laminating sheets to do 4 pieces. Shake fist and curse the makers of construction paper for this oversight.
Then, make the palm fronds:
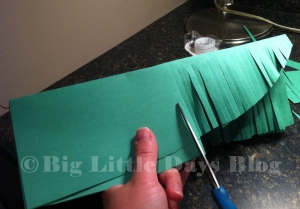
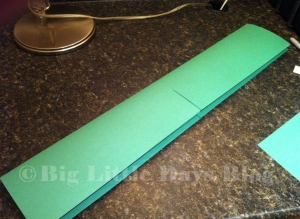
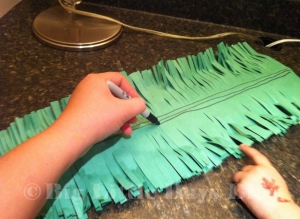
Begin cutting within 1/2 in. of the top, through all 4 layers. Make a fringe. (I took this picture before I realized cutting the shape of the big leaf can wait to the end. I’ll show you why.)

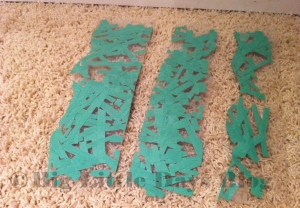
Don’t wait. The kids are totally going to get into that pile of clippings. Make a delightful grass base to your tree by arranging (dumping) all the clippings on a laminating sheet. Any excuse to laminate, right?
Contribution to the homeschool world today: Complete.
****
The auction has begun! And, we’re selling a coconut tree, as shown above. Auction to Bring Thadius Home, being held via Facebook from 8/15/12 until 8/31/12. Or, donate $25 to our son’s tax-deductible adoption fund, and I’ll ship one to you. Forward me the email of your receipt to biglittledays at gmail dot com and I’ll have it out to you ASAP.


